Importing Dancers from Excel
Joe Naftal
Last Update 3 years ago

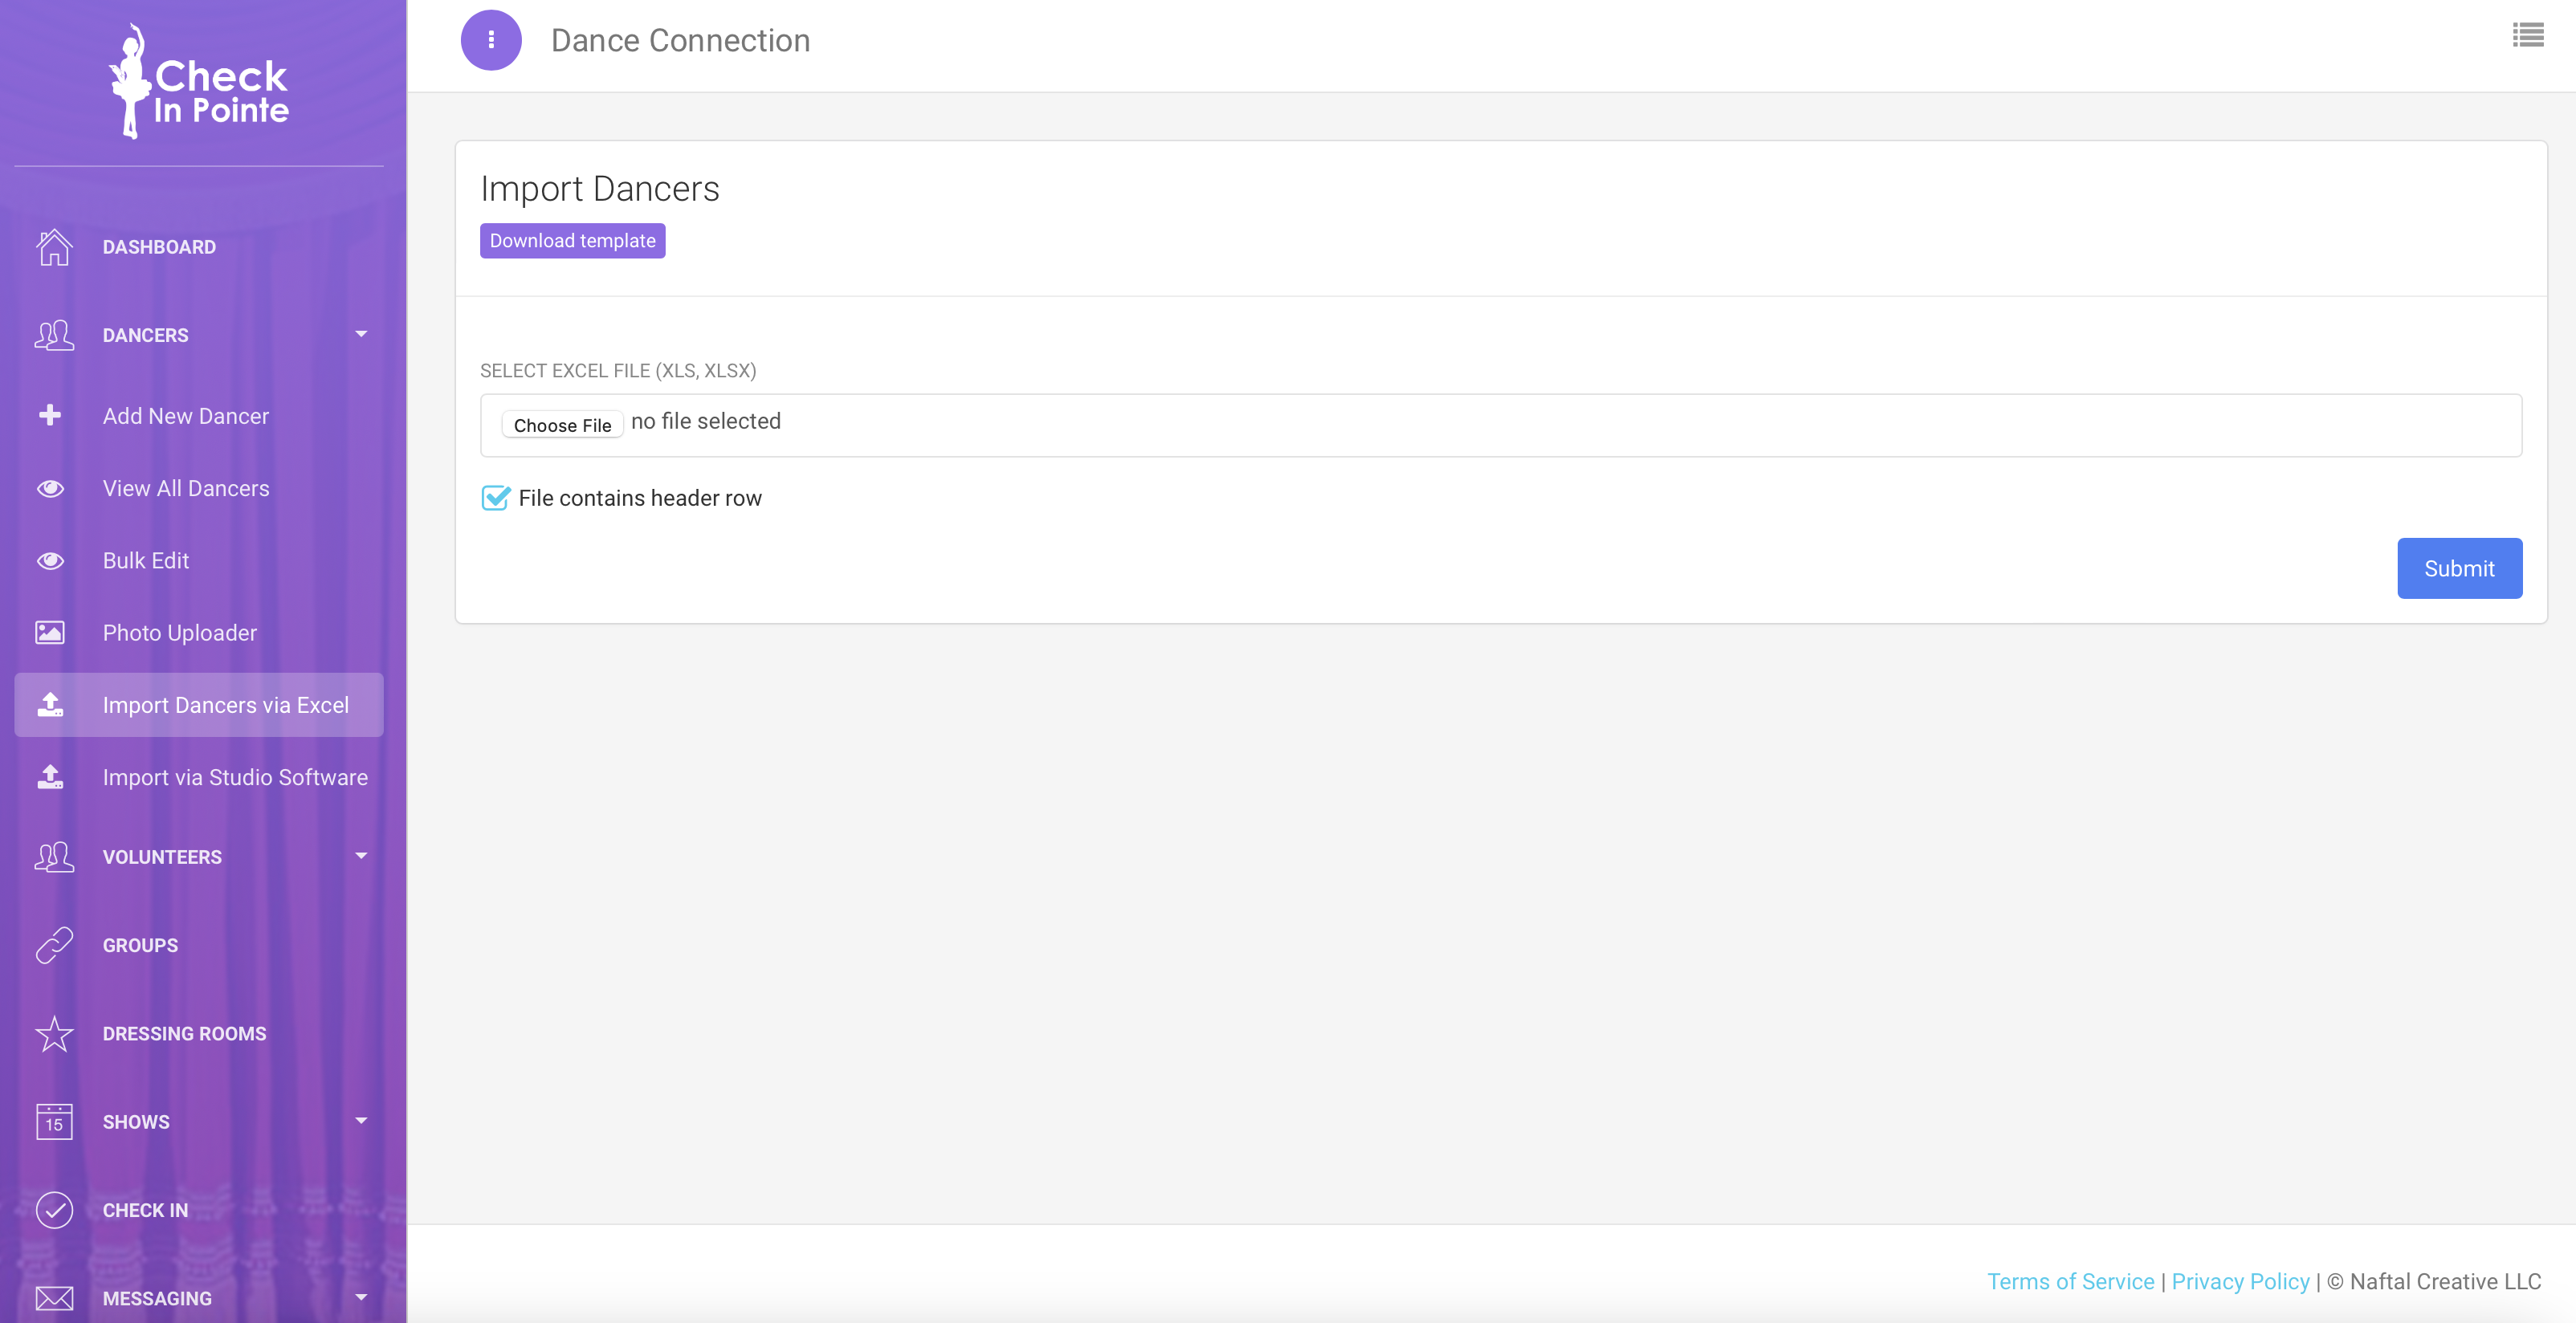
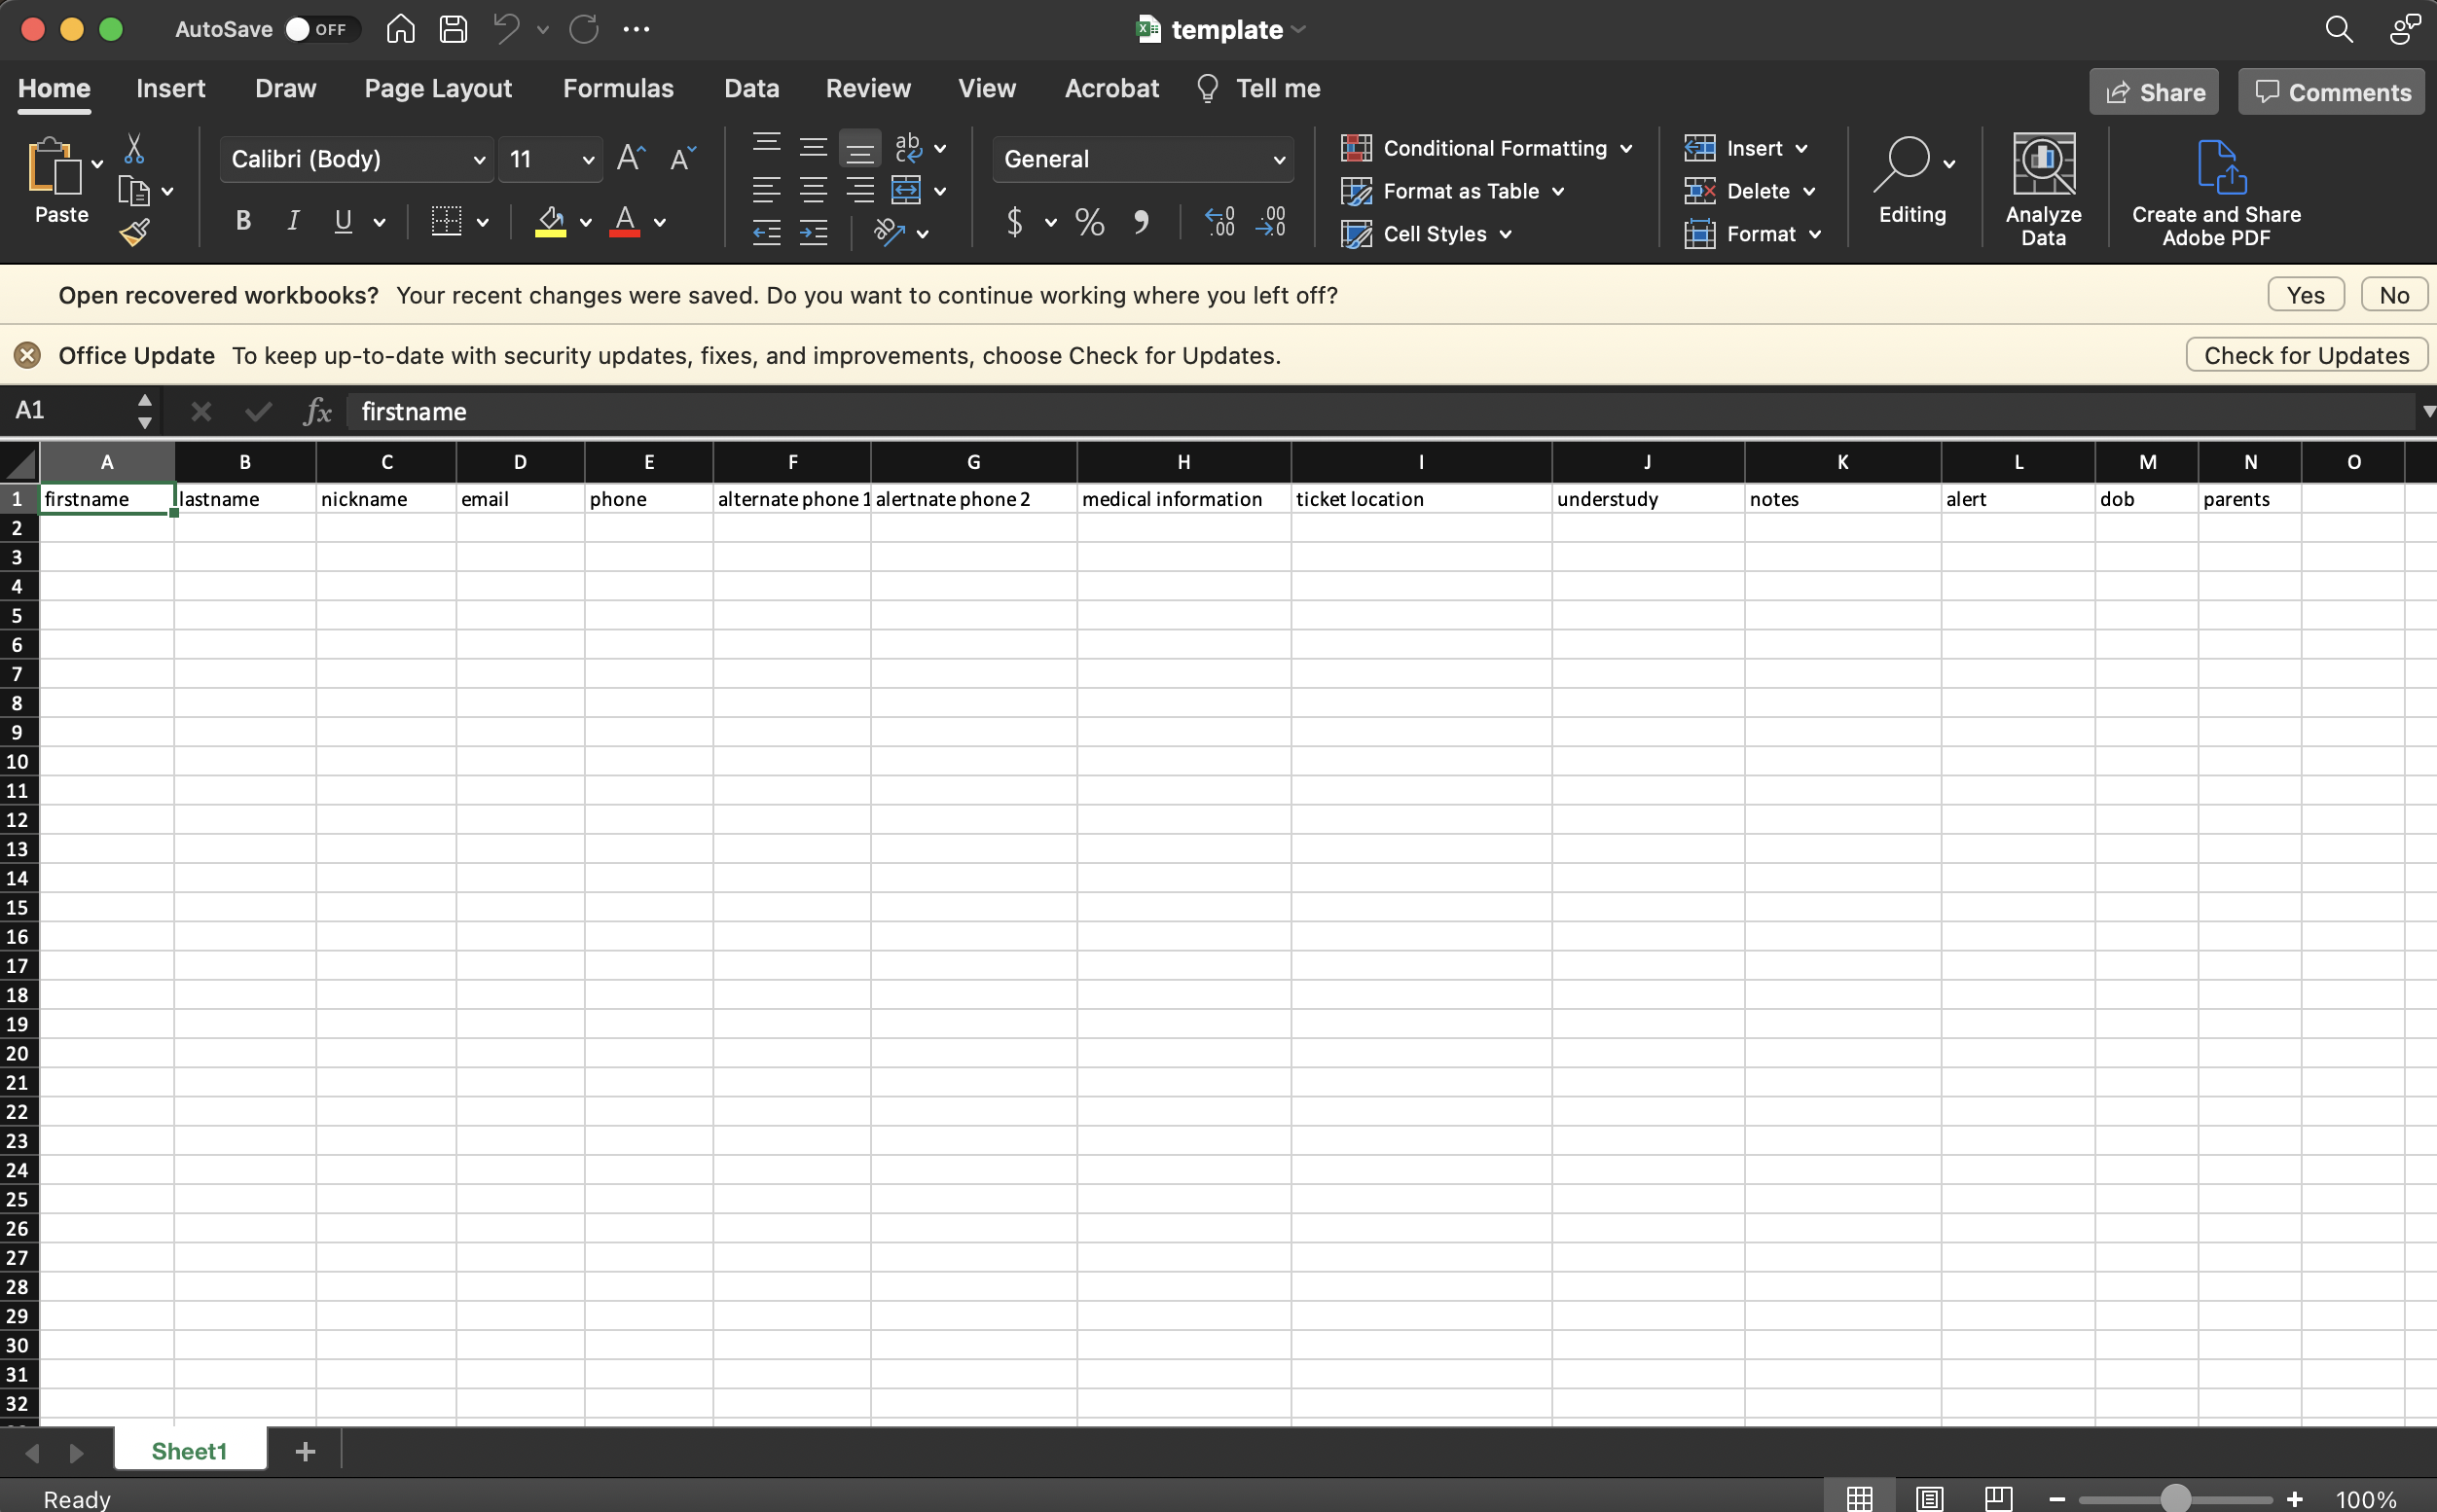
Instead of adding dancers one by one to Check In Pointe, you can upload an Excel file with dancers information. While you can upload any Excel file, we also have a template provided. Click here to download the Import template.

In the excel template, you can copy/paste information exported from your studio management software into the columns provided. You can copy in First Name, Last Name, Nickname, Email, Phone, Additional Phone 1, Additional Phone 2, Medical Information, Ticket Location, Understudy, Notes, Alert, DOB (Date of Birth), and Parents Names.
🚨 TIP: for best results, delete any formatting from the spreadsheet to make the data as clean as possible. Select all of your cells in Excel and go to Edit>Clear>Formats.
Save your file and upload on the import page in Check In Pointe. You can access the import page in the sidebar from Dancers>Import Dancers via Excel.

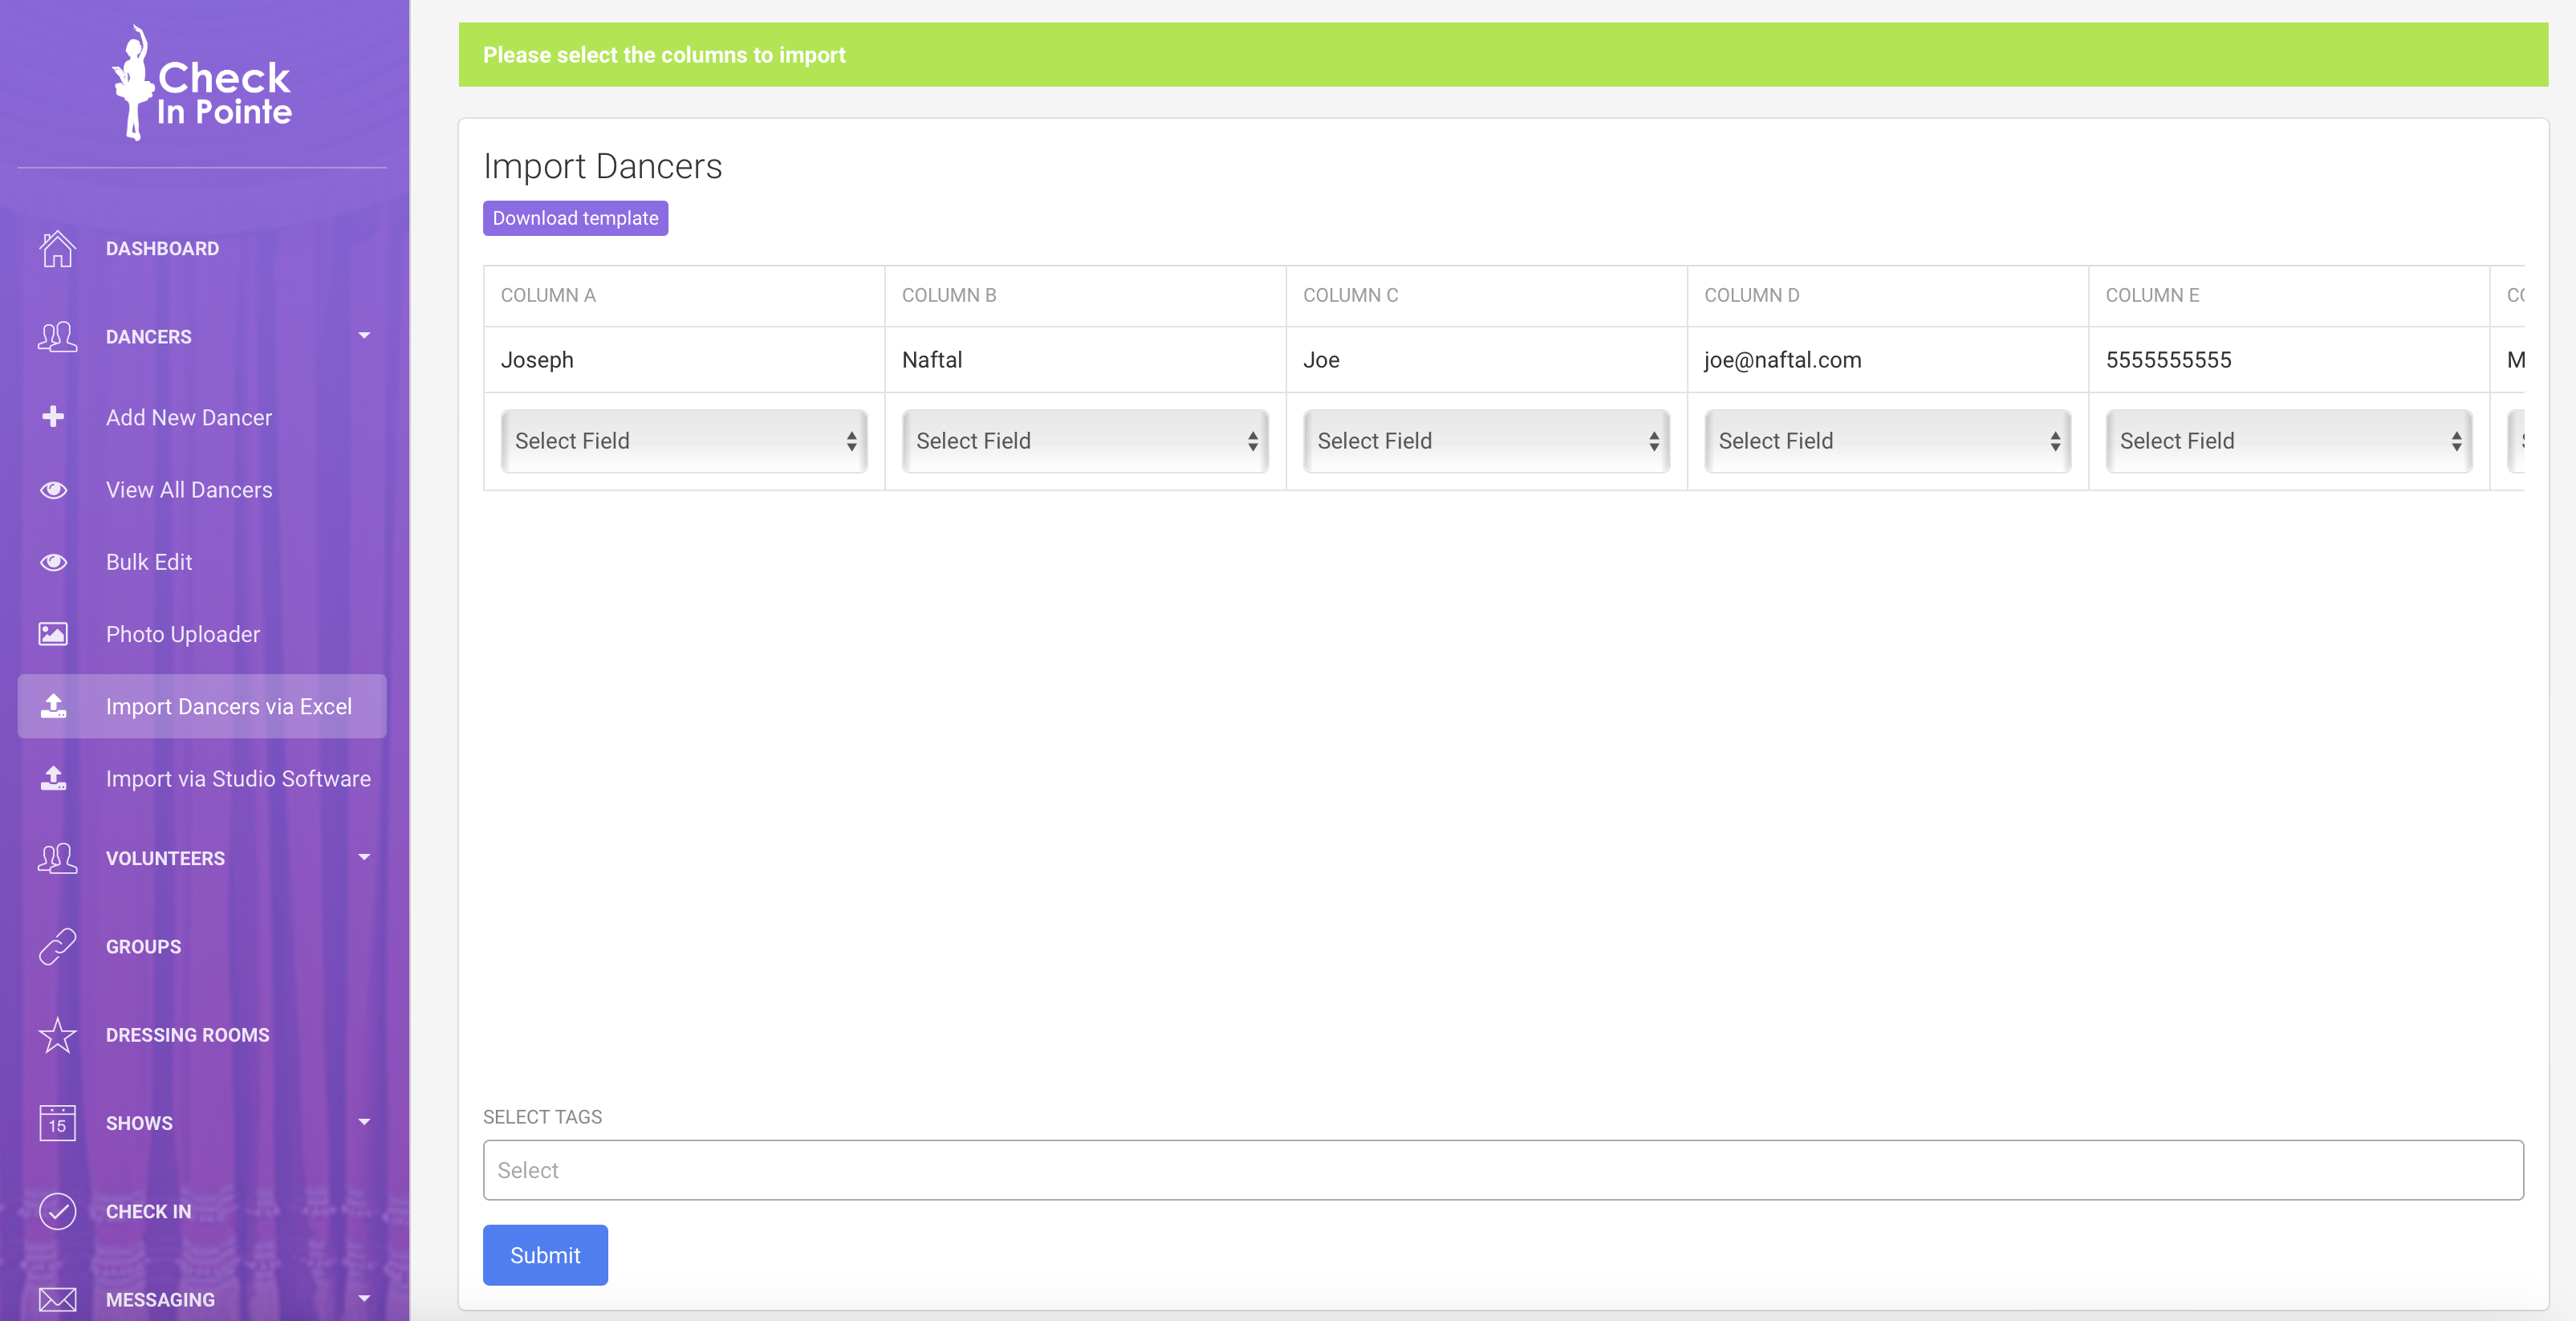
Under each column, map the column to the correct field in Check In Pointe. For example, if the first column has first names in it, select the First Name field for that column. Go through and select a field for each column. You can only map each field to one column. If you don't want to import data from a particular column, choose Ignore.
If you want to select a particular tag for all of these dancers, select a tag under "Select Tags". If not, you can leave this blank.
When finished, click the blue "Submit" button at the bottom of the page.

